Easy Setup for High Quality HDSLR Videos
Friday, October 22, 2010
I have been shooting a lot of podcast episodes for the Home Film School Student series and thought I would share how we shoot and put one of them together.
The Set
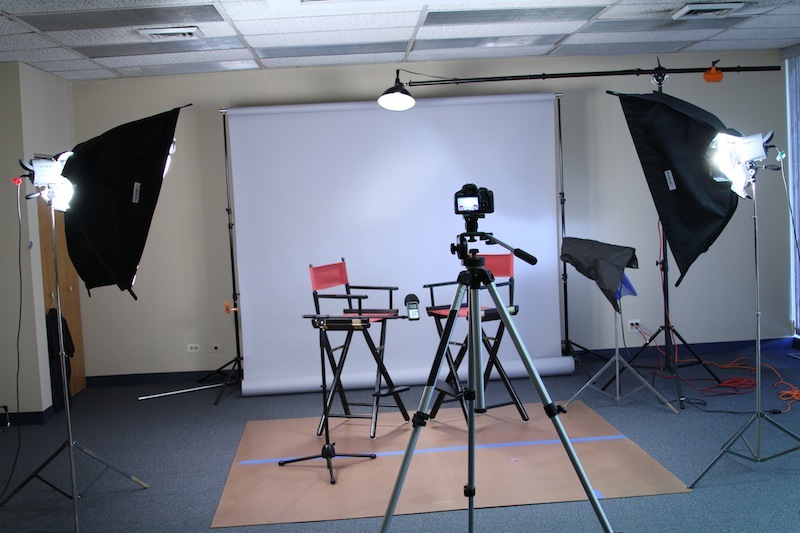
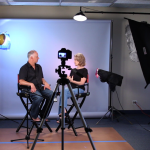
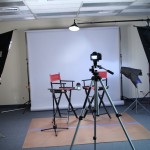
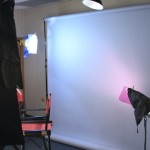
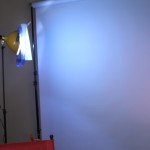
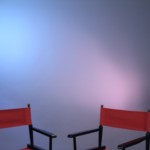
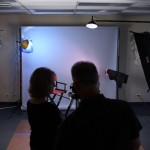
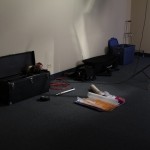
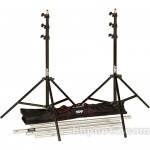
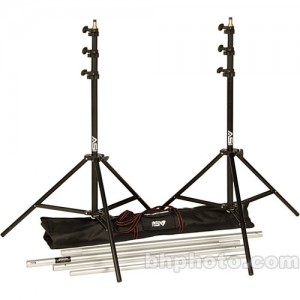 We have been shooting recent episodes in Guy Silagi‘s studio. The room has 15 foot ceilings which gave us plenty of room for lights. For the backdrop we used a 107″ x 12yds grey Background Papermounted using a set of background stands. This backdrop is a must have for anyone shooting a lot of interviews and other sit down style productions. It allows one to use it as a canvas to sculpted custom background light configurations. More on that in a bit.
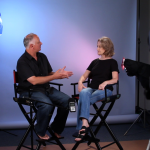
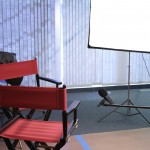
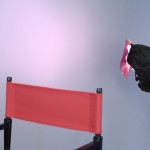
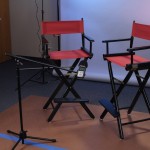
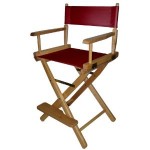 We also setup two directors chairs. These are nice because they are comfortable, and are taller than most chairs giving the camera operator more options for angles and positioning.
Lighting
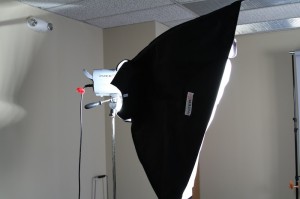
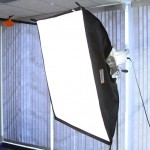
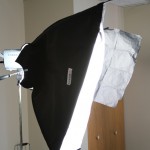
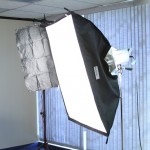
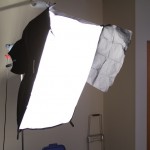
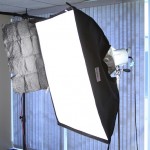
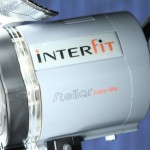
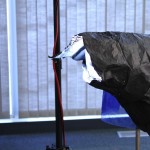
Key Lights – For lights we used some borrowed lights. The two key lights are Interfit Stellar lights. Sadly they are FAR from stellar. While they are affordable, and produce decent light, we found these to be poorly made. Pieces jammed easy and are poorly designed. We also used some wrap to keep the key lights from spilling onto our background.
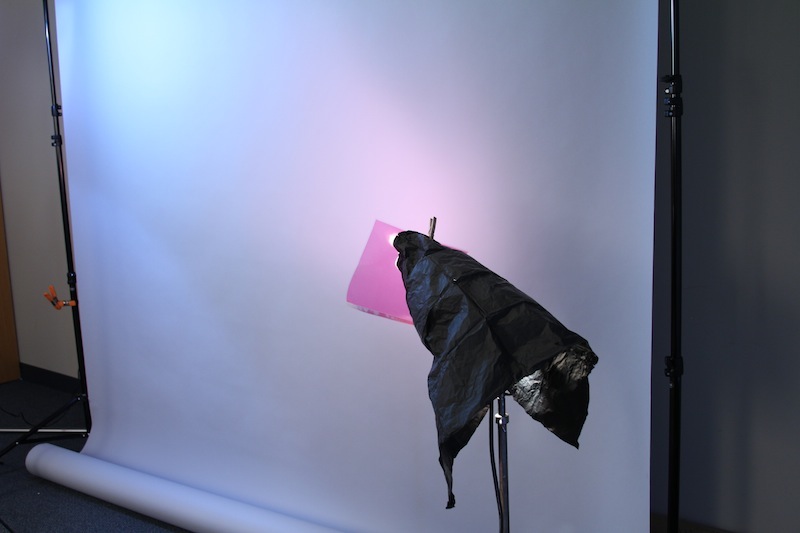
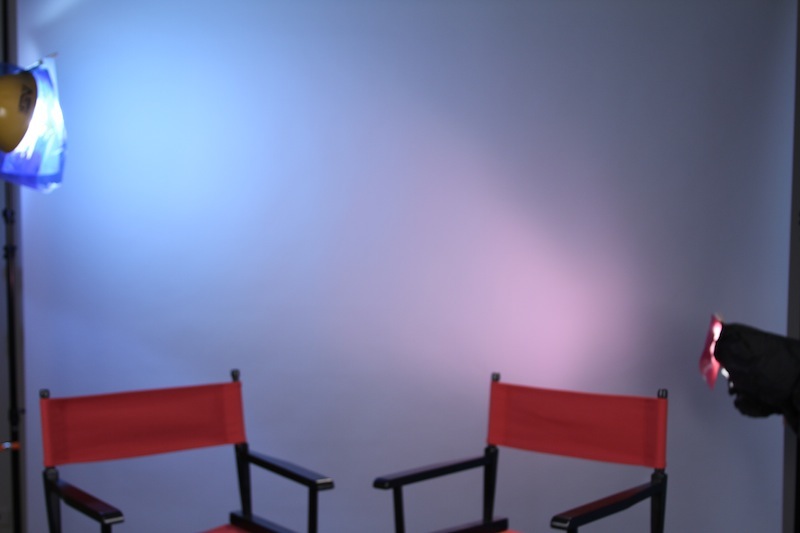
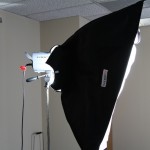
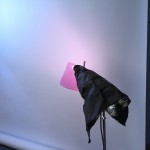
Background Lights – For the background we used Guy’s older Smith-Victor lights (New Equivalent). Using a color effects gel kit and black wrap, we could create different lighting patterns.
We typically shoot 2-5 episodes in a day, so this setup gives us a way to quickly change the lighting setup and get a fresh new look. One thing you could do to further diversify your lighting would be to use a cookie with the lights to give the set even more dimension.
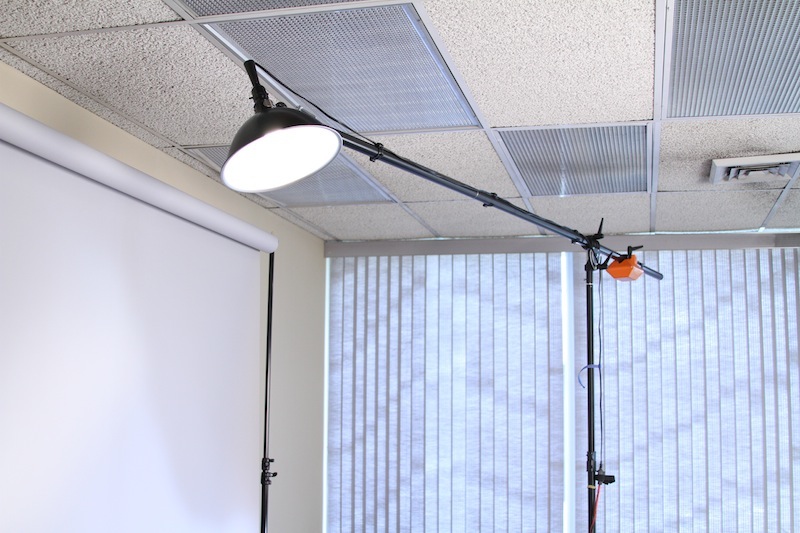
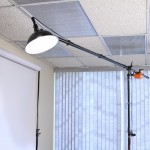
Rim (Hair) Light – For the rim light we setup a Smith-Victor flood to help separate the subjects from the background. Mounting it was a Manfrotto Heavy Duty Boom and Stand. While this boom is a little overkill for the small light we mounted, it does come in very handy for mounting all sorts of microphones and lights.
Camera Gear Setup
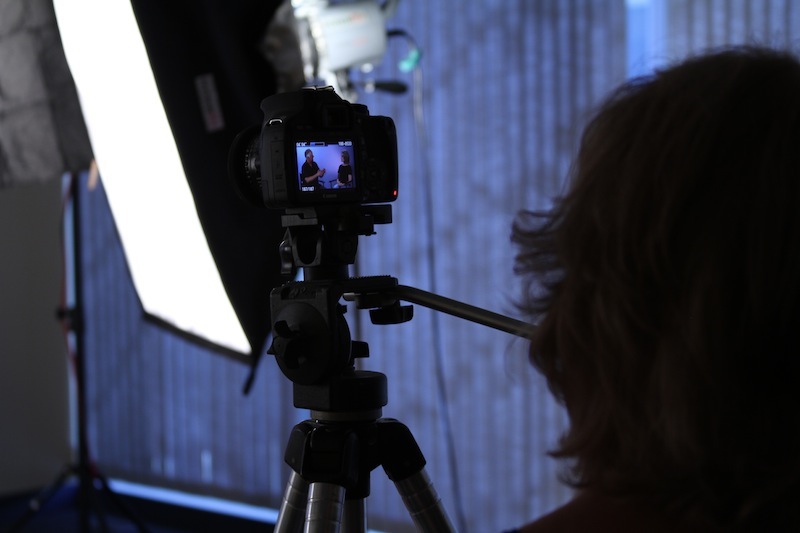
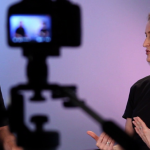
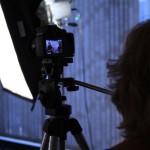
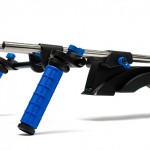
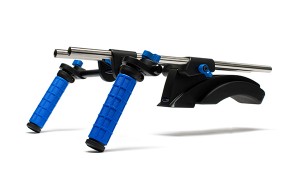 For this shoot we had a Canon 7D and a Canon T2i. The T2i was used as camera A and was locked down on a bogan tripod. The 7D was mounted onto a Redrock Micro Shoulder Mount and was setup for mobile B cam. This setup allowed me to start the A Cam, pick up my shouldered B cam and shoot OTS (over the shoulder) and over angles during the interview. This triples the production value of the shoot. In the final product there is a diverse set of angles keeping the content even more interesting.
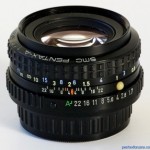 Lenses – On the T2i we had an old Pentax-A 50mm f/2.0. For the 7D I use both the Canon 50mm f/1.4 and the Canon 28-135mm f/3.5-5.6 IS USM Lens. I used the zoom for tighter framing and OTS shots because the IS made for smoother shots. I used the 50mm for wider shots so I could still maintain decent depth.
In the future I will use the Canon 50mm on the T2i because the Pentax did not maintain consistent sharpness from edge to edge.
Audio
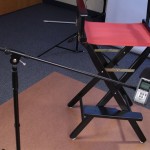
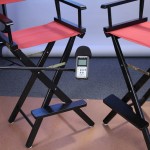
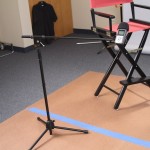
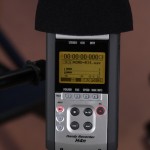
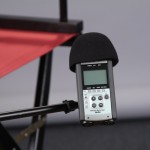 While audio is one of the most important parts of production, audio was also the easy to set up for this shoot. I get a lot of people asking me about what mics I use and other audio gear. But for a huge amount of my podcast and other shoots I use only the Zoom H4n… Thats right. Just the H4n. I find that if you are only recording 1 or 2 people the built in microphones work just fine. Here you will see my audio setup. Just the H4n mounted on a mic stand:
Usually I will position the mic above the talent but in this situation it worked just to place it below them.
Work Flow
Work flow is simple. I used two 16gb Sandisk Extreme cards, back up on portable HDs. Get back to editing suite and edited the two cameras together. Exported the project and use Mpeg Streamclip’s batch feature to export versions for iTunes, Vimeo YouTube etc.
Conclustion
With this setup we can prepare the set for an interview in about 20 minutes. And with these tools we get incredible production value and a low setup time.
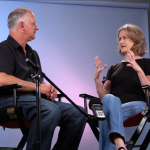
I hope this has been helpful and informative. If you enjoyed this let me know and I will endeavor to do more of them. Until then, you can find all the images from this shoot as well as some screen grabs from the episode below. For the full episode from the shoot visit Home Film School Student to see it.
——————————————————————————————————————————
PRODUCTION STILLS


[get this widget]


